 XRap has been making use of a great program called WiX, which is used for packaging applications to deploy on the Windows platform. The only thing is that there are so many features to the Windows Installer, and WiX does them all, its just a matter of diving through the limited documentation to findout how it all works. There is an excellent tutorial on WiX maintained by Gábor DeÁk Jahn at http://www.tramontana.co.hu/wix for those interested.
Features of XRap 0.4
The focus of the 0.4 release of XRap is adding the UI functionality of WiX to applications which will be

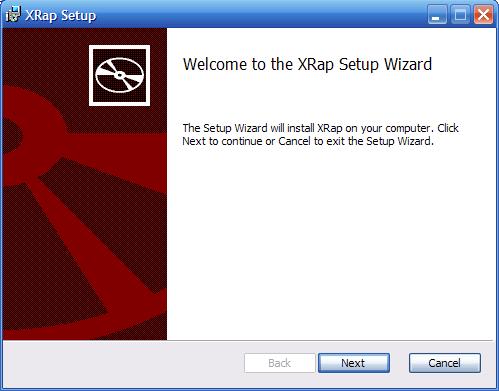
XRap version 0.3 Default Installer
packaged. There are 3 versions of the UI installer I chose to add, the ‘Minimal’ installer, which will require the end-user to accept the license agreement before installing the program; the ‘Install Directory’ installer, which after accepting the license agreement the end-user will be allowed to select which directory to install the program; and the ‘Mondo’ installer, which after accepting the license agreement, the user will have the option of a ‘Typical’ install, ‘Complete’ install’, and a ‘Custom’ install where the user can select separate packages to be installed, as well as the destination directory.
The added UI functionality also opens up the door for some customization to the person packaging their application. The welcome page, top banner, and several icons can be changed, by adding custom bitmaps to a new directory in the applications directory (the directory where the application.ini is located). The name of the directory must be ‘Bitmaps’, and the names and sizes of the new bitmaps are as follows:
| File name | Description | Dimensions |
|---|---|---|
| bannrbmp.bmp | Top banner | 500 × 63 |
| dlgbmp.bmp | Background bitmap used on welcome and install-complete dialogs | 503 × 314 |
| exclamic.ico | Exclamation icon on the wait-for-costing dialog | 32 × 32 |
| info.ico | Information icon on the cancel and error dialogs | 32 × 32 |
| New.ico | Button glyph on directory-browse dialog | 16 × 16 |
| Up.ico | Button glyph on directory-browse dialog | 16 × 16 |
In the new installers, there is a license which the end-user must accept to installer the application. The license may be changed by adding ‘License.rtf’ file to the applications directory, if no there is a default Common Public License version 1.0 agreement which will be displayed during installation.
Using XRap 0.4
- It is recomended that you add a License.rtf containing the license you wish to distribute your application under. If not, the Common Public License version 1.0 will be applied, and distributed with your installer. Rich Text Files (.rtf) can be created with simple text editors such as Wordpad.
- Custom bitmaps can be added to the ‘Bitmaps’ directory, with the same filenames and dimensions as stated above, and will be included in your installer. If none are found, or the names are wrong, the the default bitmaps will be added to your installer.

- Once XRap has started all you need to do is input the location of the XulRunner application, more specifically where the application.ini file is.
- In that directory there should be a directory called ‘xulrunner’ with the xulrunner runtime files
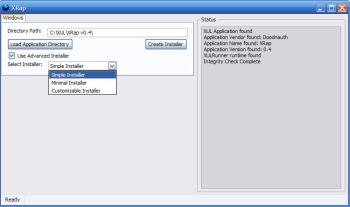
- Once you have entered the valid path, click on ‘Load Application Directory’, which will then load the application.ini file, check for the applications executable, check for the xulrunner runtime, and remove any old .msi files from the directory.
- Once the application is loaded, you can click the ‘Create Installer’ button to create the default .msi installer, which just installs the application once executed. However once the ‘Use Advanced Installer’ box is checked, you can select one of the advanced installers:
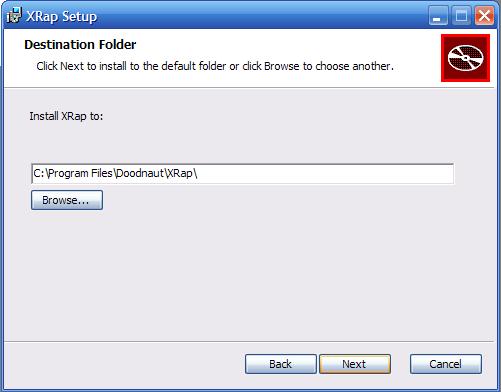
- Simple Installer – Once the end-user has accepted the license agreement, they will be allowed select the destination directory of where your application will be installed.

Simple Installer
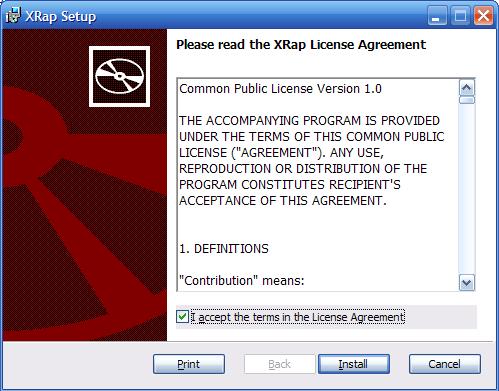
- Minimal Installer – Once end-user has accepted the license agreement, your application will be installed on their system.

Minimal Installer
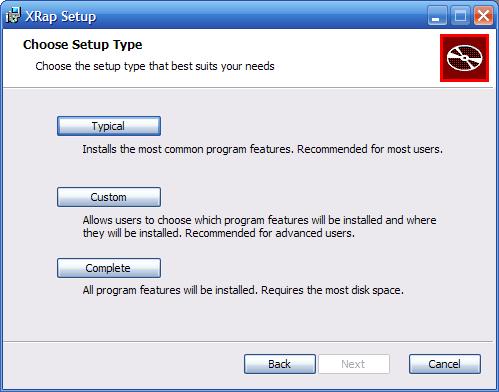
- Customizable Installer (Mondo)- Once the end-user has accepted your license agreement, they will be able to select a “Typical’, ‘Complete’ or ‘Custom’ install, where in the ‘Custom’ install they can select what directory to install to.

Customizable Installer
- Simple Installer – Once the end-user has accepted the license agreement, they will be allowed select the destination directory of where your application will be installed.
- Once the packaging is complete, XRap will remove all unnecessary files created, and you will be ready to distribute your application!
Current Problems
- When XRap is creating the .msi file, it takes some time, so it may seem like the program has frozen, but it is actually working. I’ve been working on adding a progress bar at the bottom of XRap, but I’m having trouble getting it to activate when I need it to.
- In the Customizable (Mondo) Installer is not fully functional, you can only install the entire application, the end-user will not be able to select certain parts of the app to install, and select some to be installed at a later time. This feature is taking me long than I thought to code, mainly in part because the person who wants to package their app will need to select either a directory, or specific files which are not totally necessary to be installed for their program to work. I’m having to refactor a chunk of my file handling code, to keep track of these ‘optional’ files or directories.
XRap Installer and Source Download
Installer Download: XRap version 0.4 Installer
Source Download: XRap version 0.4 Source
If anyone has any suggestions to my problems I am open to help, and please feel free to email or post a comment. Also please report any bugs or problems you get on this blog.
Hope you enjoy XRap 0.4!
